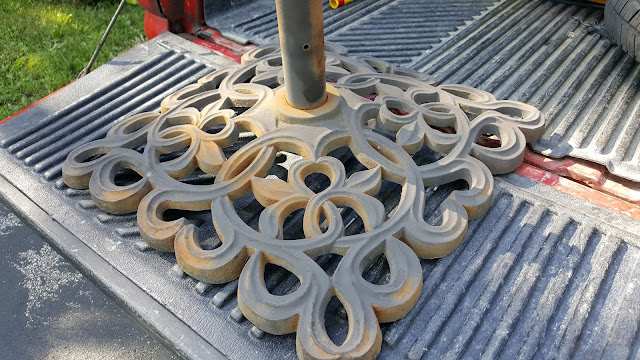
I was excited to paint the umbrella base that R found yesterday. You can read about it here.
The first thing that I did today was haul out my spray paint and my plywood spray painting board. I have an old piece of useless plywood that I use when I spray paint. It works better than newspaper because the wind can't blow it up and into the wet paint.
I always start with the bottom of the item that I am painting. This way the top is the last part painted and will not get scuffed if I had to flip it over to paint the bottom.
The bottom of the umbrella base had 4 rubber feet. I say HAD because only two complete feet were remaining. One was missing completely and one was half scuffed away. I ran to the hardware store and couldn't buy an exact replica but I did get something to replace the four feet. This will protect the paint finish when moving the umbrella base. I'll install them tomorrow.
I gave the bottom and the edge two coats and then mowed the backyard so that the paint could thoroughly dry. The top required more patience because of the decorative design and received between two and four coats depending on the area.
The 'BEFORE' photo
The 'AFTER' photo
The final result is spectacular. The details really show up now that it is painted and has a sheen. When it was dull you didn't notice the raised detail. Now that it has a slight sheen, it casts a shadow and you notice it right away.
I cannot believe someone was going to toss this base just because it required painting. I used a black satin spray paint with primer included. I used roughly 2/3rds of a can and the paint cost less than $5.00 for the entire spray can and roughly two hours of my time to paint (most of that was waiting for it to dry).
This was a world class SCORE!!!


No comments:
Post a Comment
Leave a comment here.....