Part Two The Reveal of the Concrete Pumpkin Flower Pots
If you are coming here from the website Hometalk, welcome. You can follow Gear Acres through a reader or Google+. My posts are generally on how to fix something or how to make something. We are currently restoring a 1926 home so feel free to follow along.
Back in the spring of this year, I bought a 40lb bag of Quikrete to make a solar lamp for my entry into the One Bag Wonder contest by Quikrete. I didn't use all the concrete dry mix so I stored it in a plastic storage bin that had a snap on lid. BTW I love storing the mix like that because it stayed fluffy and didn't get hard lumps that high humidity can cause.

I decided to look at faux pumpkins while I was buying bird food at Walmart. Other shoppers must have thought it was odd that I was concerned with what the inside looked like because most people buy faux pumpkins based on the outside appearance. Then I noticed the plastic pumpkin shaped baskets that kids use to hold their candy when they Trick or Treat. I picked up one and looked inside and oh my gosh it was pumpkin shaped on the inside BUT it also had a jack o'lantern face impressed on one side. Bummer. I put the pumpkin basket down and walked away.

The absolute best part is that there were two different faces and the pumpkin baskets were just a buck each. I would only be out $2.12 if my idea didn't work out.
The next day I stopped at my local nursery because they had mum plants on sale. I was really hoping to only spend 10 bucks or less on the two plants. I found two plants in the smaller size that would work with the size of my pumpkin pots. They were regularly priced at $4.99 but marked down to $3.99 each. Eight bucks for 2 plants plus the $2.12 for the pots would mean that this project would come in at around 10 bucks.
This particular nursery chain offers reward bucks once or twice a year based on how much you purchased during the year. I always use my reward card but I didn't realize that the reward bucks were being paid out that week. The cashier swiped my card and rang up the two plants and then asked me if I wanted to use my $7.77 rewards bucks on this purchase. Well of course. The new total was now 22 cents! Using those rewards cards do pay off.

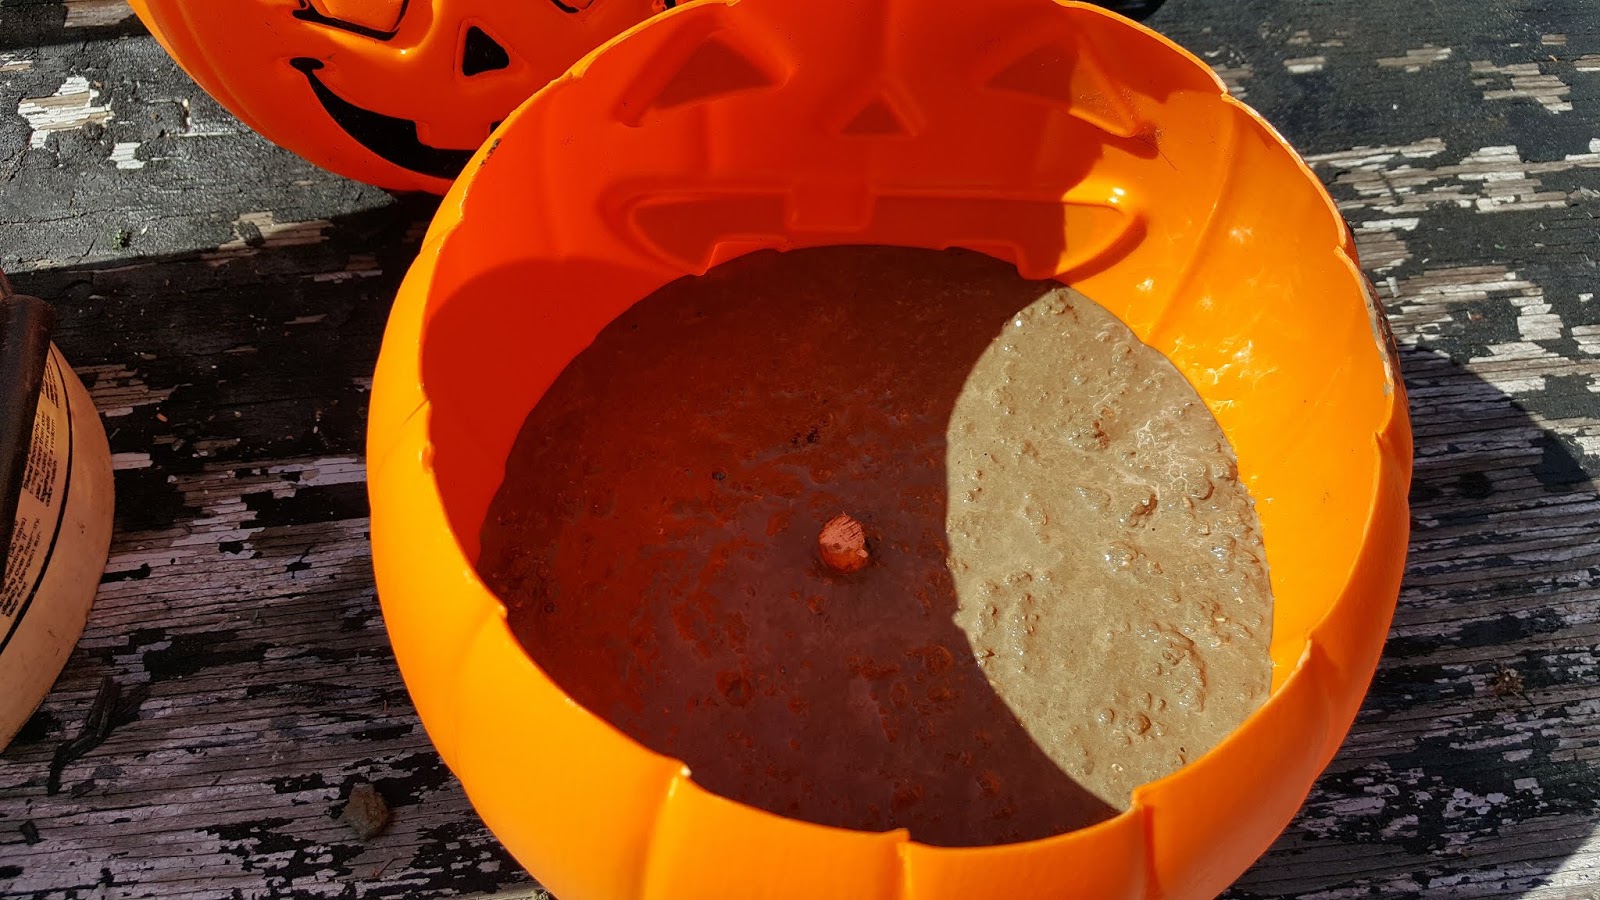
The test fit showed that I needed to open up the top of the pumpkin basket so the the plastic flower pot would fit. I used large scissors to cut the handle off and to cut the plastic and make the opening bigger.

This dowel will give me a drainage hole in the concrete pot and also held the plastic pot in place while the concrete cured. I then taped up the factory drainage holes in the plastic flower pot.


Materials needed
2 plastic pumpkin baskets $2.12
2 mum plants $.22
dowel already own or you could use a pencil
concrete mix left over mix from another project
My total cost $2.34
Your cost if you pay the sale price for mum plants w/o rewards bucks $8.46
Pumpkins baskets $2.12
1 40lb of Quikrete $4.05
Pencil in place of the dowel
Pumpkins baskets $2.12
1 40lb of Quikrete $4.05
Pencil in place of the dowel
$8.46 (mums) + $2.12 (2 pumpkin baskets) + $4.05 Quikrete $14.63 Total
Tools needed
Drill motor
Drill bit that is the same size as the dowel/pencil
Utility knife
Scissors
Sandpaper
Needle nose pliers
Hand shovel or scoop
Container to mix concrete
Water
Drill motor
Drill bit that is the same size as the dowel/pencil
Utility knife
Scissors
Sandpaper
Needle nose pliers
Hand shovel or scoop
Container to mix concrete
Water
Tomorrow
Part 2 The Reveal of the Concrete Pumpkin Pots
Reuse Repurpose Recycle
That is really creative. I have a bag I need to use up; I am definitely tempted to try this when the plastic halloween buckets are available again.
ReplyDelete