Saturday, August 30, 2014

In between the rain showers

It was a beautiful sunny morning.  I had visions of getting oodles done today.  I walked outside and thought to myself "kind of hot out" and then I turned around and as I turned the sun went behind a big dark cloud. In the time it took me to go to the mail box and return (with a bill in my hand...go figure) it had started to rain.

It rained hard for 15 minutes and then stopped.  Any other day...no problem....but today I wanted to sand the trim and use electricity.  Both a NO NO when wet.  So change of plans.

I knew I could move the small concrete bird bath to the other side of the bed and then prepare the area for the concrete bench that R picked up curbside.  Of course I would need R to help because all the pieces were HEAVY but I could do the prep work.  Then the sun came out and it got HOT, like steamy hot.

R came home and we used the furniture dolly to move the bench.  The pedestals are heavy but easy to maneuver.  The top was a whole different story.  First off, it is heavy but on top (no pun intended) of that, it is cumbersome because it is curved.  We finally got it onto the dolly but of course the driveway is uphill (both ways...LOL) to where we were going and did I mention it was HOT!

First, we leveled the pedestals but then we realized that there was no way we could pick that heavy top up and place it on the pedestals.  So we used one of our favorite tools....the hydraulic floor jack.  We laid down a scrap piece of plywood so the top would slide on it and we would also be able to roll the floor jack on it.

Once we had the bench top positioned in front of the pedestals R lifted up the side of the bench top so it was standing on it's edge.  I then moved the floor jack next to the bench top and R lowered the top down onto the jack.  I then started raising the jack as R steadied the bench top.  Once we were higher than the pedestals, R slid one side onto one pedestal and then did the same with the other side.  I then helped him position it evenly on top of the pedestals.

Now came the true test.  Is it still level?  We leveled the pedestals but with the added weight we were not sure if it had sunk into the dirt.  R placed the level on the bench top.  He didn't look happy.  He moved the level 180 degrees and still didn't look happy.  I said "well?"  He said "well, look for yourself."  It was dead on level.  I asked him "how did we do that?"  He said "I don't know, but I'll take it."

After all this time I am still amazed when something works out...LOL  We will finish off the black mulch once I kill and remove the remaining crab grass.  The trumpet lilies will be moved later in the fall to an area where the deer cannot munch off the buds just before they open.  #ithappenseveryyear

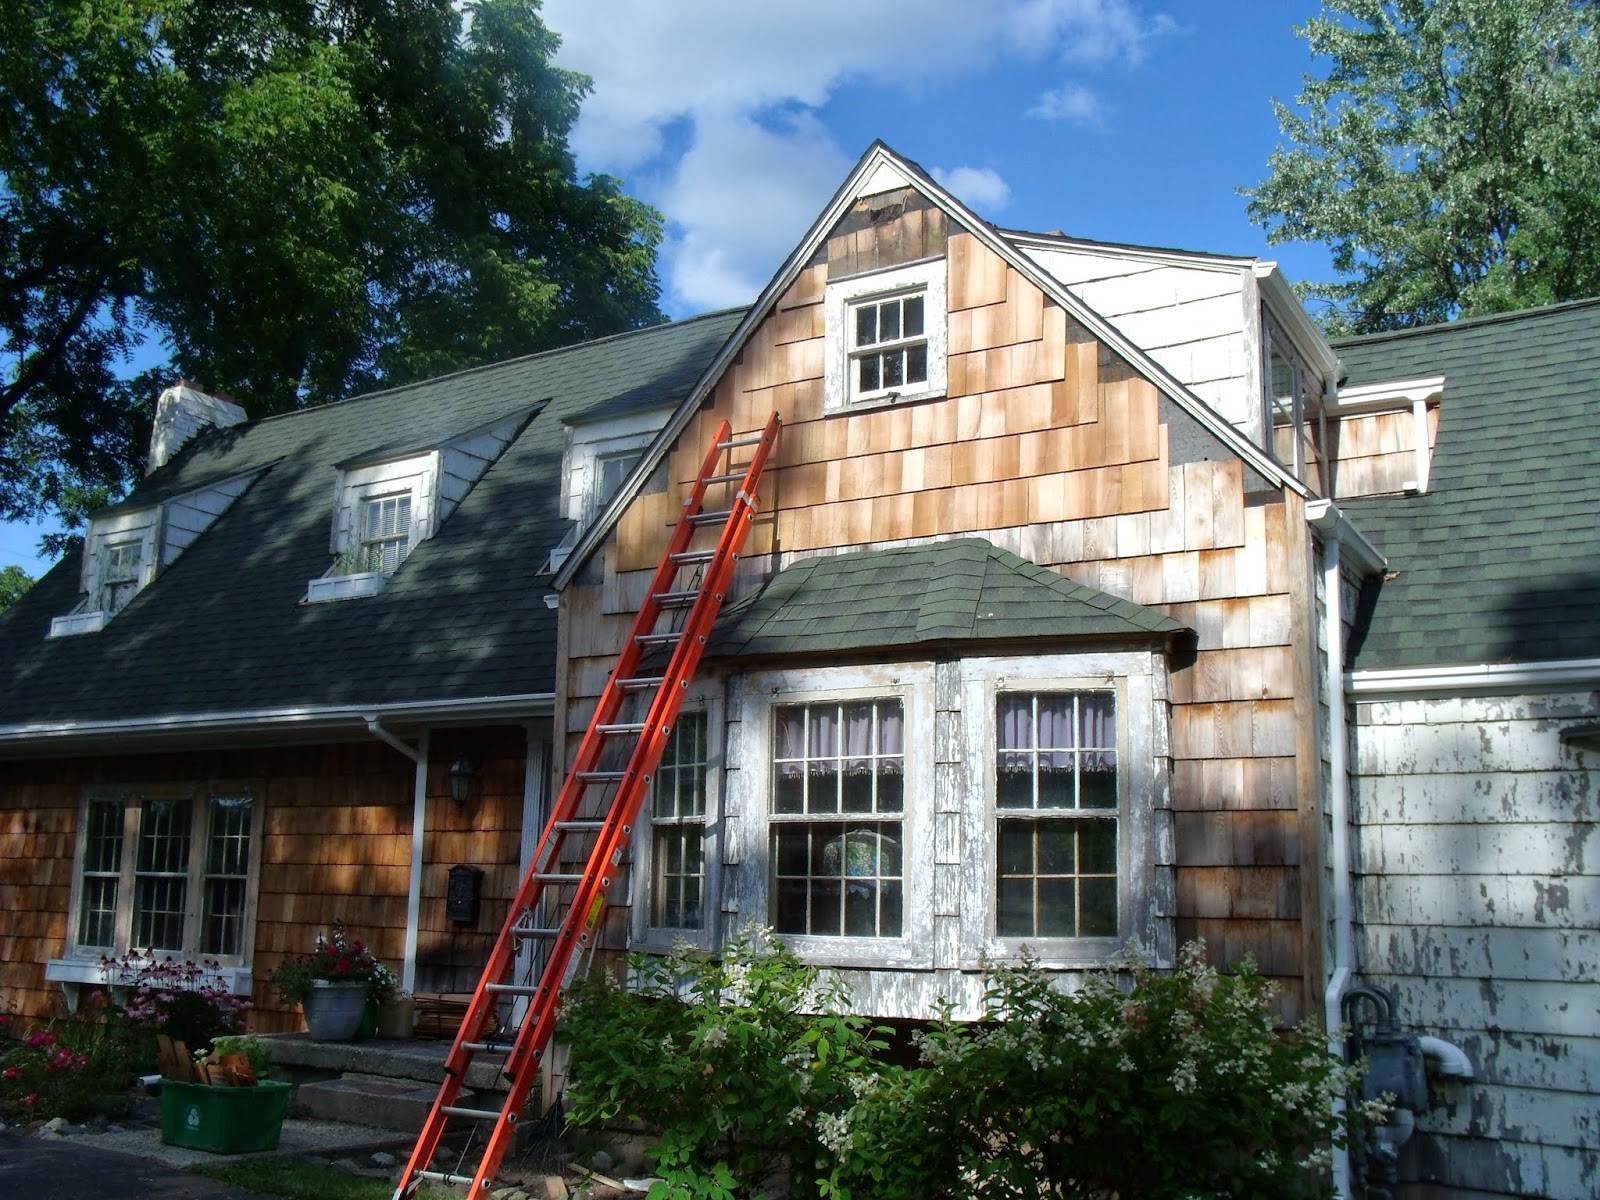
Notice how it is sunny in the photo above.

We could not sand because the wood was still slightly damp so we moved on to another project in the same flower bed.  The remaining dogwood is copping a lean to the north.  The ice storm really put a lot of pressure on the dogwoods.  Only one of the three survived but I can't handle seeing a crooked tree every time I drive into the driveway.  So we decided we would stake the tree using our favorite method.....two metal fence posts, a section of old hose, and some rope.

R used a small sledge hammer to drive the two fence posts into the ground.  He was just about ready to add the rope and hose when I said, "we have to spray paint them black first."  R left to get the spray paint and by the time he returned.....it was raining.  I swear I am not making this up.

It has rained on and off all evening and now into the night.  I just went outside and it is lightning to the south.

So on the agenda for tomorrow.

Plan A if it is dry.

1. sand the trim.
2. epoxy nail holes in the trim and the wood storm windows.
3. sand the epoxy smooth.
4. prime the trim and storm windows.

Plan B if it is damp outside

1. move the dirt on the east side of the garden shed.
2. lay the flag stone walkway.
3. plant the remaining hosta plants on the east side
4. plant the remaining irises on the corner of the garden shed.

Friday, August 29, 2014

Both of these sashes will go up...

.....and down, if it is the last thing that I do.

All the windows were painted shut when we bought the house.  The bottom sashes were easy to get open by just gently removing the sash stop after first scoring the paint with a utility knife to help eliminate paint chips. Once the sash stops are removed the sash is free to go up and down.

If your sash is just stuck in a few areas and not entirely painted shut you can buy a tool that looks like a pancake turner with little sharp points on the flat part and a saw blade cut out around the edge. You wiggle this tool between the sash and the sash stop to break the paint free from the sash.
Today I finished removing the last of the paint on the outside of the windows.  Unbelievable how thick the paint was in some places.  Once I had the paint removed from the stiles, I could see where there was a little paint keeping the upper sash from moving.  Then a light bulb went off in my head.  Hacksaw blade!!!!  So I ran into the house and retrieve the hacksaw blade that I used to remove the paint between the wall and the baseboard.
It worked like a charm.  All the upper sashes now move a little.  I didn't want to jimmy the window too much because I plan on replacing the cord this winter and at that time I can remove the parting bead and finish the job.

I was able to move two of the top sashes back up into place so that the sash was no longer crooked in the opening.  That always bugged the heck out of me.

Over the years I have made all my bottom sashes operational but I want and need the top sashes to also work.  Why have double hung and only use the bottom sash?  If you lower the top sash a little and raise the bottom sash a little you can get great ventilation because the warm air rises and goes out the top and the cooler air comes in through the opening at the bottom.

An operational top sash also works well during a rainstorm if you have an extended eave. By closing the bottom sash and lowering the top sash you can have an open window without the rain coming in, unless of course it is straight line rain then just close the windows and head for the basement.

While I was at it, I also removed any loose glazing compound.  Seriously,  glazing compound whether removing it or installing it, is one of the most tedious jobs.  When I had my first house, I spent an entire summer just reglazing the windows and repainting the exterior of the sashes.  It looked great when I was done but that was many years ago and there is now no way I could stand on a ladder for that long.  Just the thought of it makes the bottom of my feet hurt.

Two days ago we installed the 1 1/4 inch square piece to fill in between the drip edge and the trim board that we added to the peak before we finished shingling.  It worked out perfect.  I primed and painted the pieces before R installed them so I will only need to touch them up when I paint.
 That hammer was up in the window was 3 days before I finally remembered to bring it inside.

Wednesday, August 27, 2014

Worked until the storm hit

The last couple of days have been slow going tedious work not worthy of a post of it's own but I thought I would bring you up to speed on where we are at on the shingling/trim project.

We finished the shingle work and the last three pieces were a nightmare.  R had to work in his beekeeping garb because of the yellow jacket nest.  He was HOT!!!  Of course the last couple of days have been some of the warmest so far this summer.  Because of the yellow jackets he had to wear long jeans and the jacket and gloves.  After going up and down the ladder several times he felt the need to stop and cool off.


The shingles are done and we cut the extra narrow trim piece we decided to add to fill in the space left by the removal of the old broken trim.  I was able to get two coats of primer and two coats of paint on the pieces before the rain hit.

We also removed the three storm windows and the hangers.  Tomorrow we will epoxy the holes and sand the window trim.  I also noticed some old paint that I can now get to with the heat gun.  The storm windows need window glazing, sanding, priming, and painting.  I love how they have the wavy glass.  
 Looks like I better get my paint brush ready.

Saturday, August 23, 2014

Shingles and flip flops

There's an old adage that says you learn something new every day.  You know what I learned today? Climbing a ladder while wearing cheap flip flops is difficult.  Wearing good flip flops and climbing a ladder is tricky but do it in cheap flip flops that are on their last flip and flop and well...you are living dangerously.

It took us a good 7 hours today to finish the shingles and trim board on the left side of the peak.  I wish I knew how many times R and I walked up and down that ladder.  I seriously thought we would not finish the left side but once the sun went behind the trees and we were working in the shade, we really picked up speed.

The first thing that we did today was to go through the scrap plywood and find the thickness that we needed to shim out the 1x4 trim piece so that it was flush with the existing 1x4 corner trim.  We ripped long pieces of 3 inch wide boards out of paneling that I think was 3/16th thick.  That was a scrap piece from a demo and it was stained to match the wood paneling so it was probably from one of the kitchen demos.

We air nailed the shim in place.  Next was cutting the angle on the end of the trim board that would go in the very top of the peak.  R used a small torpedo level to find vertical and scribed a line.  When he adjusted the blade on the saw he found out the angle was 45 degrees.  Once it was cut, he held the trim board in place at the peak while I marked it for length at the other end.  We then nailed it in place.

We started filling in the shingles at the edge of each row.  Every one was a custom angled cut and because we shimmed out the trim board we were able to tuck the shingle under the trim.

The trim we removed was installed like a piece of crown moulding and because of this we have a space of about an inch between the drip edge and the trim.   I have an idea but that will be the last two pieces that we install because I need to first try out a couple of designs.  But don't worry....I'll use scrap wood.

Grandma Cat said it was too hot to shingle so she slept under the rose bushes where it was cool but close enough to hear if someone was opening a can of cat food.  The proverbial kitty sweet spot. 


Thursday, August 21, 2014

Curbside Treasure

Wow....R is on a hot streak.  I was shocked when he said "look what I picked up today."  He said it caught his eye because it was sitting on top of a closed trash container.  Most of the time when you see that, it indicates that the item is too good to throw away but that they no longer want it.
Look at that.  A plein air easel and paint set.  It took me a while to figure out how to unfold the legs but once I figured it out....it all made sense.  Included in the set is an easel, mixing palette, carrying strap, a brush, oil paints, acrylic paints, and watercolor paints.
About 3/4 of the stuff that R finds I either CraigsList or donate to Goodwill.  I think I'll keep this one.
R is a lot like a shark who has to keep moving.  R's wheels on his truck are constantly in motion and because of this he covers a lot of miles. I'm the opposite.   I take the shortest distance and if I don't have to leave the house...I don't.
Again, Grandma Cat wasn't really impressed.  She doesn't know it just yet, but she is going to move in with my mother who needs the companionship and Grandma Cat needs a home.  Grandma Cat showed up last November just before the snow started to fall.  We kept her fed and as warm as we could in the barn during the winter. Once spring had sprung we got to know her better and tried to find her humans.  She's a smart cat that knows a lot of words but she really wants to be the only cat (we have two indoor cats who demand that the world revolves around them) and we think that she was an indoor cat.  So an indoor cat she will be, again. Grandma Cat will soon be Condo Cat.
This is a first for my mother.  She has never had a pet inside the house and until Grandma Cat, she never petted a cat.  Grandma Cat will have to train Grandma (my mother) but I am sure Grandma Cat will be spoiled.  My mother has already been buying up kitty stuff.  So after Labor Day, R will take my mother and Grandma Cat to the vet and then she goes to the kitty spa for the works.

Once Grandma Cat is living with Grandma (my mother) the tally for relocating cats will be 11 since May. We have a boy cat that is a real sweetie who is on the shy side, that we would really like to find a home. The ideal situation would be with someone who has cat experience and can work with Morrie and give him a lot of attention.  He loves to sit on your lap and is just a good little boy.

Tomorrow we are back to working on the shingles.  R removed the trim piece under the drip edge on the left side.  It went fairly fast because we were not trying to save the trim because it was cracked and rotted.  He used a chisel to split it and then used a pneumatic grinder to cut off any nails that he couldn't pull out.  We then moved the ladder to the other side and he started to remove that trim.  Amazingly, 3/4 of it came down in one piece.  He stepped down the ladder to get the last 2 feet of trim and was promptly stung by a hornet That is 3 hornet stings this summer for R.

I don't know what to do since we are no longer using pesticides and insecticides in our yard.  I did purchase a vintage wasp jar several years ago for catching wasps.  I think I read somewhere to put Dr. Pepper in it.  I wonder what box of stuff the wasp jar is in and will I be able to get to the box. 

Wednesday, August 20, 2014

Adding a second story....

.....to the bee hive.  The bees needed the space and I think everyone can relate to that situation.

The second box was needed for honey storage for the bees to store enough honey to get them through the winter.   Plus, their population is expanding and no one likes to be cramped.

So Monday morning we drove to our beekeeper's house and bought another 10 frame deep box.  I spent an hour or so in the afternoon on priming and painting the exterior.

Grandma Cat checking out the box and frames before installation

While we were at the beekeeper's house I asked a lot of questions.  One of those questions was "how do you make the smoker smoke?"  The answer was dried sumuc, specifically the dried flower head or what is called sumac bobs.  My brother in law had told us that is what he used but I didn't realize that that is what most beekeepers use.
In our area the sumac is the staghorn sumac and we are lucky or unlucky, in some cases because it spreads easily, to have a large patch of it behind our barn.  I cut a large handful of stalks to dry but by evening they were still too green to stay lite in the smoker.

This was R's first official beekeeping duty.  So we were both kind of anxious about how well it was going to unfold especially since he would be going in smokeless because the sumac wouldn't stay lite.  We waited until just before dark for R to suit up.

First up was removing the roof.  Bees were flying around but really not agitated more just disturbed.  Next was the inner cover which he lifted off gently.  He then set the new box on top but first making sure that there were no bees resting on the edge of the lower box that might get crushed.  The box was very gently set down so that it didn't move the lower box.  All the while he was working on the hive, he made sure not to make any sudden movements.  He then reassembled the box by putting the inner cover back on and then the roof.  He then stepped away.

I can't wait until we can move the hive and replace the shingles and windows #looksohsouglynow

We watched the bees for about 30 minutes and slowly they went back into the box and then it was too dark to see much of anything until morning.  Morning came and everything looked great.  Bees coming and going.
All was well with the hive.

Monday, August 18, 2014

Curbside Treasure

This is by far the heaviest curbside treasure that we have found to date. A vintage concrete curved bench.


The concrete bench is an exact match to the bench that we found buried in the yard.  That bench is straight and is now sitting along the narrow walkway that leads to our cast iron fountain.

We haven't decided on a location just yet.  First we need to do a light sandblasting to remove what is left of the black paint.  We prefer our concrete in it's natural state and have several bird baths that need their paint removed, too.  In time.

Today we worked on the shingles and we are almost done with the field but ran out of shingle nails.  I even checked the ground under the ladder and found 5 more nails.

 Grandma Cat says "These humans wear me out."

Tomorrow morning we pick up another super for the bee hive.  This means that R gets to play beekeeper for the first time when he adds the second super.

Sunday, August 17, 2014

Cedar shingles and insulation holes

Seriously, this is going slow and we haven't even gotten to the slow part.  The peak, the small window, and the bay window that sticks out all add to the slowness.  I swear we nail two shingles in place and we then have to move the ladder.

Or fill an insulation hole with Styrofoam or rigid foam insulation.  To do this, R uses a hole cutter saw the same size as the hole to make a mark on the Styrofoam.  He then uses a knife or hacksaw blade to cut on the outside of the mark.  This makes the Styrofoam plug slightly larger than the hole.

Along with moving the ladder and filling insulation holes we also have to move the ledger board that we use to keep the rows of shingles straight.  You can see the ledger board in the photo above.  We also have to pull off the old shingles as we move along, remove any leftover shingle nails, and of course fix any missing felt paper.

Once we finish the field with shingles we will deal with the 1X4 trim and angled cuts.  This house has numerous peaks and each peak has a different trim.  It wasn't noticeable when the house was painted all one color but since the trim will be white and the field will be dark grey any inconsistency in trim will be noticeable.


Our shingle installation ended today around 530PM because of rain.  It was mostly sprinkles but since we were using tools with power cords we thought it best to call it quits.  I needed to run some errands so I left the house and 2 miles from my house I found a curbside treasure.  A quick call to R and it now sits in the bed of the truck and we will unload tomorrow.  I know the suspense is too much.

Update on the chemical free vegetation killer.  I've been spraying and spraying.  The vegetation dies but grows backs.  I'll continue to respray because each time the plants appear to be weaker and smaller.  The fleshier the plant, the harder it is to kill or even weaken.

I've been pulling the weakened weeds by hand but the crabgrass and sedge is unfaved entirely.  The only option I can think of is to loosen the dirt and hand pull, but any roots left behind will resprout.  Maybe cover in black plastic and try to kill the plants that way.  I'm spending a lot of time on this and making very little progress.

Here is the formula that I have been using.

1 gallon white vinegar
2 C Epsom salt
1/4 C blue Dawn dish soap

Let me know if you have a different recipe that has worked for you.  My fingers and fingernails can't take much more weed pulling.
 Grandma Cat says "These humans go up the ladder and down the ladder all day long."

Wednesday, August 13, 2014

We're back.....more cedar shingle installation

I thought this day would never get here.  Work ground to a halt over a year ago when it became apparent that all of our ladders were too short and the scaffolding that we have wouldn't work either.

Last Sunday my sister mentioned that they have a 32 foot extension ladder.  Well, that became a game changer.  Our plan was to stop at Menards, after leaving her house, to price ladders but we weren't exactly sure what length of ladder we would need.  So last night we drove to the boonies (that's where my sister lives) and brought home their 32 footer so we could test drive it.

In a nutshell....R loves their 32 foot fiberglass ladder.  It's heavy but he says it feels real solid when he climbs up it.  He's the climber and I am the shingle cutter/tool hander/nail getter.

It is surprising how long it takes to get all the tools assembled again when you restart a project.  After abut three or four trips back into the house, I think we have everything we need.  We installed about 8 shingles before we ran out.  We didn't actually run out but all we had were narrow shingles left in the bin.  So tomorrow I'll buy a couple of new bundles.

We also made the decision to transplant the hydrangea bushes that are in front of the dining room bay window.  They grow too high and are in the way of storm window removal.  In keeping with the same plant theme that is in front of the house we will plant carpet roses because they are low.  But then I really like the tall pink/purple/white phlox that I have growing all over the yard.  These plants were growing in the yard when we purchased the house.  They are age appropriate for a house of the 20's and 30's, they smell great, and the bees loves them.

The next three days have good weather in the forecast with lots of sun.  Then they are predicting 5 days of rain.  So we need to try and finish this peak before the rain.

This week is the annual Back to the Brick car show/cruise.  Flint and the surrounding suburbs are filled to the max with vintage cars.  The downtown area of Flint has a lot of events planned and it looks like they will have good weather.  This is a chance to show off all of the improvements that have been made in the downtown area.  It reminds me of the time when I was young and you could go downtown and window shop, buy candy, and just hang out and enjoy all the sights.  Flint has come a long way and they have so much more planned for the future.


Tuesday, August 12, 2014

Rethinking future flowering plant purchases

Several years ago I decided to limit my annual plant purchases and try to invest in perennials that come back every year.  We have been happy with that arrangement and our perennials are increasing in size and ready to divide.  But then we got the bees and we decided to make even more changes.

There is a lot of info out right now about what is causing colony collapse and the death of the honey bees.  It is really hard to discern what info is correct or if there is disinformation being put out by the large corporations to point the finger away from them.  I don't know what is true and what isn't so my only recourse until it is definitively figured out is to limit my plant purchases to heirloom varieties or trading old plants with friends that are pesticide free.

When we purchased our home there were a lot of old flowers growing here and there.  I've dug and dug and replanted and replanted as many as I could find space for in the yard.  This spring after our very very hard winter here in Michigan, I realized that the flowers and trees that survived were the true zone 4 plants and trees.  Our winters had been getting milder and milder and on some maps we were even re classified as zone 5a.  Well that is all well and good until you have a winter like last year and the prediction is for another cold winter this year.  Unhappy about that.

So I've decided that we will concentrate on bee and butterfly friendly plants and only plant indigenous trees. Most of my deciduous tree damage was done to non indigenous trees like dogwoods and red buds. My black walnuts, tulip tree, sycamore, catalpas, maples, and oaks were unfaved.

The vacant lot next to our property has a hickory tree growing on it.  So I have been on the lookout for hickory saplings and have found three so this fall we will attempt to transplant.

My common lilacs (syringa vulgaris) were unfaved by the hard winter but my fancy lilacs not so much. Many died back and have started regrowing at the base.   I guess I should be happy that they were not a total loss but those lilacs were the expensive ones so I was expecting to have large full bushes by now.

My cone flowers and phlox are performing wonderfully so they are on my keep list.  My day lilies are staying too. Many of my day lilies are from my first house and my mother in law's yard.  I also have a great red day lily from my blog friend, Annette, in CA.


The irises all seemed to fare well and are staying.  R said he found another one of his mother's old irises at her house which we are in the process of getting ready to sell.  She had a lot of irises at one time but she had very sandy soil and as she got older they were not watered as much and some completely dried out and died.


What plants will I be adding?  I have some black eyed Susans that I know are at least 25 years old that are growing at our other house.  Some of those will come to The Gear and I will divide a dark pink Monarda (bee balm) that I currently have growing in my yard.  I am also going to try and save all the milk weed that is currently growing over by the apple trees.  Milk weed is necessary for the Monarch population.  Next year I will plant dill weed for the swallow tail butterflies. I am hoping to can some dill pickles next year so a little dill for the butterflies and a little dill for me.

I have a lot of Autumn Joy sedum growing in my yard.  I know these are at least 20 years old because I planted them at my other house and from 2 plants I now have two houses that have a lot of Autumn Joy.  I know of three small offshoots that will get transplanted this fall.  The bees love the fall flowers on the Autumn Joy and I love that they are hardy and bloom late into the fall.

Of course my hostas made it through the winter flawlessly.  I will also keep all my shrub roses but I need to be more vigilant on keeping them trimmed back so I don't have to have another marathon rose trimming session.  I still need to cut back a row of purple rug roses but their stems look like bottle brushes because they have so many thorns.

And lastly, in our apiary we will transplant a lot of the pink and purple phlox, some pink cone flowers, and I'll try and buy some lavender that can be guaranteed to be pesticide free.  This should make for a beautiful and bee friendly home for the new hives.