Wednesday, May 30, 2018

Our Paw Paw Tree has Flowers

....and flowers mean that there is a possibility of fruit.  

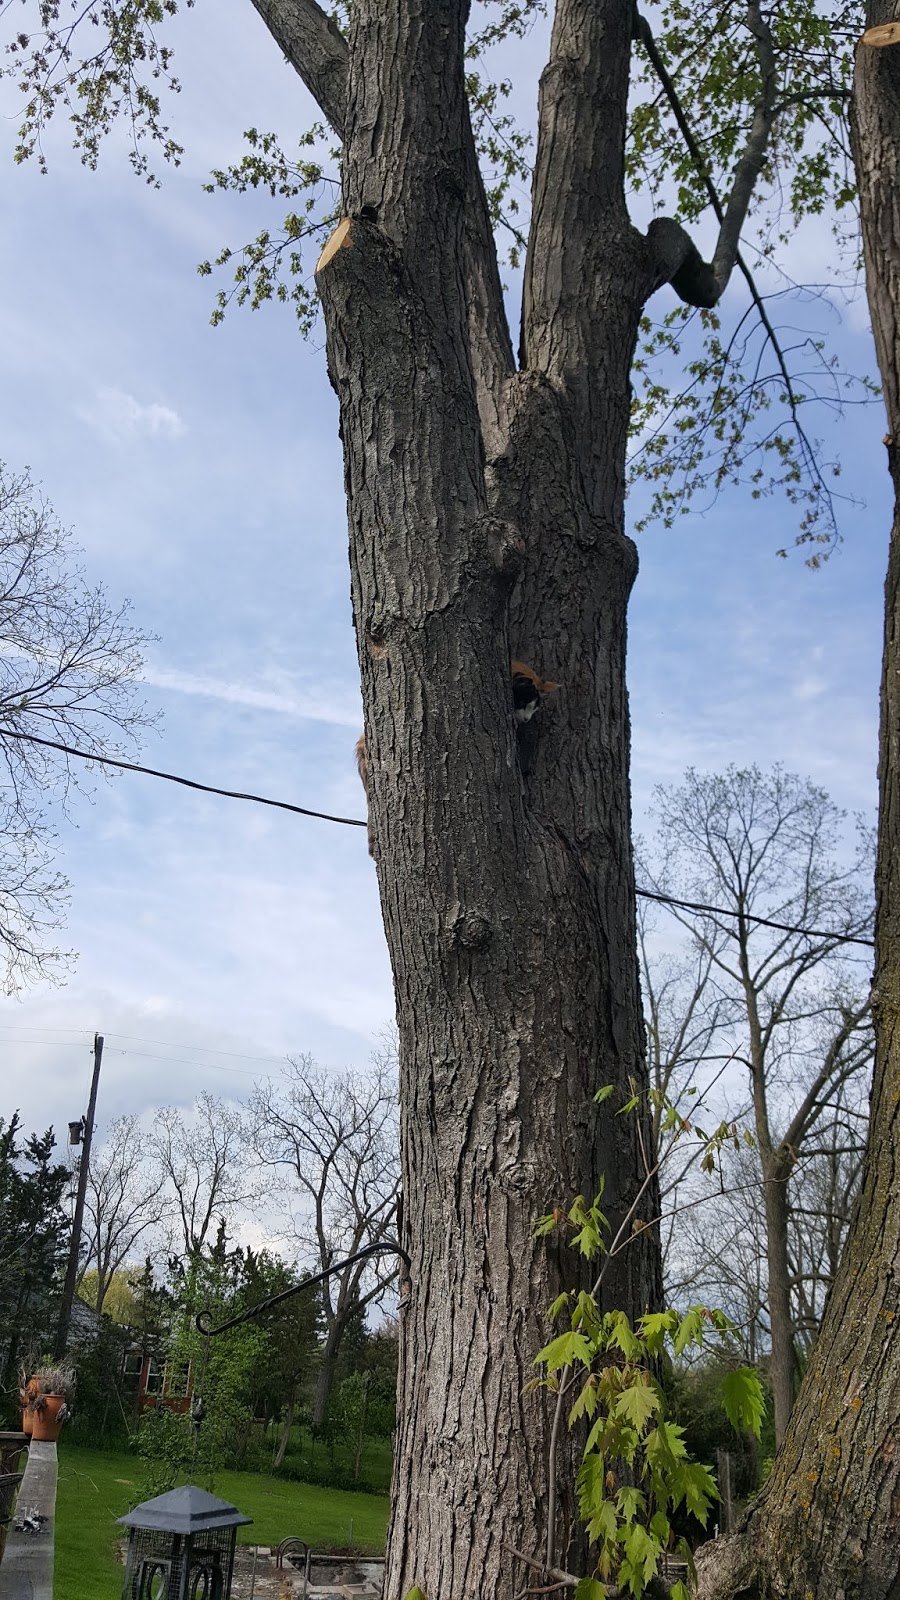
We are shocked because this is just year 3 since we planted the two paw paw trees.  Last spring and this spring we actually thought that they had died or were in the process of dying.  We will need to remember that they are late blooming trees.
One of the trees has 9 blossoms and the other has 17.  All the paw paw literature says that you need at least 2 trees for cross pollination.  Unless these flowers get pollinated there will be no fruit.   
They are great looking flowers, aren't they??  Can you imagine a 20 foot tree covered with these blossoms?  

I doubt that we will have any paw paw fruit last on the branch until it is ripe.  The fruit is quite large and heavy and the current state of the tree branches is more twiggy than branchy.

The blueberry bushes are blossoming, too.  The flowers are not as striking or showy, as the paw paw blossoms, but I know that these branches can handle the weight of the blueberries.
This is a Jelly Bean variety of blueberries.  It's a small compact blueberry bush with full size fruit. It is also a prolific fruit bearer and the perfect size for use in the landscape.

The only danger of fruit not lasting until harvest is from finger blight.  That is where you pick off and eat all the fruit, one berry at a time, before you have a chance to harvest.

Sometimes R and I walk around the yard during the summer and graze.  Then when lunchtime rolls around neither one of us are hungry.  Win win for me.

R loves when fall rolls around and he can sample the apple trees every day.  He found out that eating 3 apples in one day has an unpleasant effect.  I reminded him that the saying is....an apple a day, keeps the doctor away NOT three apples.

Reuse, Repurpose, Recycle

Don't forget to follow Gear Acres on

Pinterest

Monday, May 28, 2018

Working on the Projects

It was a hot one today.  We basically went from temps in the 50's to the 90's.  The lilac bushes were about 3 weeks behind and due to the high temps they came and went pretty fast.  I did get a few photographs but photographs can't give you the olfactory experience that lilacs have to offer.  


The June 21st deadline project is where we concentrated our efforts today.  We biscuit joined the boards but first we cut each one at 40 7/8 inches.  This measurement will make the "project" 40 7/8" X 40 7/8 inches.  We left the boards clamped to the saw horses and then I placed my bay leaf plant on top of an old piece of vintage pink laminate to weigh it down.  I could have used a cement block but it was just too hot to walk to the cement block pile so I grabbed the closest thing I had and that was my bay leaf plant.


After we ate lunch I gathered pieces for tomorrow's concrete pour.  Of course R reminded me that I wanted to throw out a couple of those pieces during one of my cleaning frenzies.  My goal with the #Quikrete One Bag Wonder contest is to only buy the bag of concrete and one other piece necessary for my design.  All the remaining pieces are items we have in our stash or are items we have but will be used in another fashion.   

Speaking of stash.....R saw me going through the 1 X scrap lumber pile and he gets all upset thinking that I am wasting wood that he has so lovingly saved. He doesn't like the thought that the scrap pile went from 25% of the room to a very small stacked pile.  The picking is getting slim but I found enough boards to make the other project which will go on the back of the house once the shingles are hung and painted.

I am really excited and anxious about the barn wall project because it is so different than the projects that other bloggers are doing right now.  The Quikrete project is equally exciting because it falls right into our ethos of reuse, repurpose, recycle, and we always try to use materials that can be repaired or materials that will last for years such as concrete.  We try never to invest big money in plastic items like patio furniture.  As you might know we stick with vintage wrought iron furniture rather than plastic furniture that fades, gets brittle, and then breaks. 

On the agenda for the rest of the week, make my concrete project for #Quikrete One Bag Wonder contest, finish building the barn wall project and then paint it, strip the paint off the pieces of scrap lumber, that I found today, and then sand them.  I also need to finish weeding around the garden shed.  I have 3 sides done but I left the weediest side for last.  I also  need to mow yet again.  I know this sounds like I am exaggerating but some areas of our lawn are getting mowed every 3 days.  You might have noticed in the fence repair post at how long the grass was in those photos.  That was 3 days growth.  

We also need to add the extra floor joists under the deck.  We added extra joists and hangers to 2/3rds of the deck already.  That really stiffened everything up.  We've had the wood since last fall so it is just a matter of cutting to length and adding the hangers.

  If it stays hot outside this is actually a good project to do because it is in the shade and somewhat below grade. The deck is elevated about 6 feet off the ground in that area so no crouching is involved.

Reuse, Repurpose, Recycle

Don't forget to follow Gear Acres on

Pinterest


Sunday, May 27, 2018

Fixing a Broken Top Rail on a Chain Link Fence

The top rail of our chain link fence broke sometime during the winter.  We can't say for sure how it happened but our theory is that the post to the right of the break, heaved out of the ground during a freeze.  This caused the post to bend away from our property until it broke the insert connection on the top rail.  This left us with a broken connection on the top rail and a bent post.
You can see, in the photo above, the broken top rail insert inside the top rail. The photo below shows the bent post with the chain attached for the ratcheting come along.
 Here are two diagrams to help familiarize yourself with chain link fencing.  I should also say that I dislike chain link fence but due to the size of our lot we cannot reasonably even think about any other type of fencing.  This fence is old and rusty so I painted the fence in front of our house in a satin black but did not paint the north side because it is jointly owned by us and my neighbor who is not fond of painted chain link.  I painted the fence to match the driveway gate and because black makes the fence visibly disappear.  Believe me I want this fence to disappear.

www.FenceSupplyCo.com

The first step was straightening the post.  We used a chain and a ratcheting come along.  The come along chain was wrapped around the fence post and another chain connected the truck bumper (we used the unused hole for a trailer hitch ball) on the truck to the come along.  The truck bumper was the fixed point and by ratcheting the come along, the post slowly straightened.  We over corrected because we figured that there would be some rebound and we were correct.
Check out this video of the post straightening process. 

You can hear the Indy 500 on the radio in the background.

At this point we have a straight post but a broken rail and we need to insert the rail sleeve so that the top rail is once again one continuous rail.  But to do this we need to go to the end of the rail and remove the rail from the rail end.  This will allow us to use a small sledge hammer to make the space longer between the two pieces of top rail.
We then slid the rail sleeve onto one end and then lined up the other end of the sleeve and the other end of the top rail.  I held it so that it was aligned and R tapped the far end of the top rail until it was into the rail sleeve.  He then put on the rail end and bolted it back into the brace band.
And we were done.
R purchased the rail sleeve at Home Depot in the fence department across from the bags of concrete.  He also purchased a bag of fence ties.  These keep the chain link fence attached to the posts and top rail.  We were missing a lot of the fence ties at the bottom of the fence where it attaches to the post.  We had a long list of stuff to do so we didn't get to that today.

Total cost for 1 sleeve and 1 bag of fence ties.....$10.20 

Easy peasy

Reuse Repurpose Recycle 

Don't forget to follow Gear Acres on

Pinterest

Monday, May 21, 2018

Upcoming Projects and Deadlines

I have three projects that are in the works.  Two have deadlines on June 4th or the June 21st.  In between those deadlines we will build a peaked roof on the semi flat roof that was once an open back porch and later closed in.  This is what will be our game room but first the flat roof has got to go away.

So what are the three projects? 


June 4th deadline is for the Quikrete One Bag Wonder Contest.  I will be making.....oh wait...it's a secret. Sorry.  I'll spill the beans on June 4th.

The June 21st deadline is for a project that will adorn the south side of our barn.  More on that on June 21st.  Sorry.

The third project is for the back of our house and will make it debut once the roof and cedar shingles are installed and painted.  It is similar to the project for the barn so I guess that is a secret, too.  Sorry.

But I can tell you that the barn and back of the house projects are being made out of the wood that we removed from the steel beam in the ceiling of the game room.  The wood looked like this when we removed it.
This is what it looks like now that I have removed the paint with a heat gun and R has lightly sanded it.  Guess what?  It's Douglas Fir.  Perfect wood for outdoor projects.  And so pretty, too.
The weather has not been cooperating on the roof project but I guess that is why they invented tarps. Also, no biggie if water comes in because this room will be gutted to the studs and the old pine floor which had been patched with plywood will be replaced with oak that matches the rest of the house.

And in between all of this.....

 I need to put a top coat of paint on the new flower boxes so that I can fill them with dirt and plant the petunias that I bought last week.

Find the black and tan outdoor rug in the barn loft and put it down on the deck.

Pick up all the piles of grass clippings that are everywhere.

Install a mast head on the back of the house and relocate the wire going to the garden shed.  Eventually that will go away when we run the wire underground.

Finish demolishing the in the ground pool.  I am surprised that it hasn't just collapsed.  It is made of red brick with concrete troweled on it.  Amazing that it ever held even one drop of water. Should be easy peasy but we want to salvage some of the slate on the apron and also the concrete coping around the edge.

And finally we need to fix the chain link fence on the north side.  One of the posts is bent and the top bar has broken the connector.  R picked up a couple of sleeves to fix the top rail.  We might try some heat on the bent post and then use the truck to pull it into position.  

So it looks like we are going to be busy all summer.

Reuse Repurpose Recycle

Don't forget to follow Gear Acres on

Pinterest


Tuesday, May 15, 2018

Calla Lilies and Petunia Planting

I planted the calla lily today and all I could think about was this......


The calla lily is on the deck right now but it gets very hot on the deck and even though it says full sun I think there is a difference between full sun and full sun with oven temperatures.
Haven't quite figured out what I am going to plant in the tall black pot to the right.
I received a gift card to one of our local nurseries for Mother's Day and I wasn't planning on spending it so quickly but when I stopped in there today to buy more petunias I saw this....
The bunny statues are multiplying like rabbits.  I stopped at the wild bird store in town to get jelly for the orioles and ended up buying this black and white bunny.
The cool nights and fertilizer has our lawn growing at warp speed.  I'll need to mow again tomorrow and I just mowed on Sunday.  It's funny how you can't wait to get on the mower and mow the lawn for the first time but it loses it's appeal real fast.

As I was putting things away for the evening I noticed something in the tree by the deck.
 Patches crawled back down without losing her grip on the tree.
 Elvis the cat was not impressed.
Reuse Repurpose Recycle 

Don't forget to follow Gear Acres on

Pinterest


Sunday, May 13, 2018

Planting More Flowers

It's amazing how long it takes to plant annuals.  

I've tried several methods for buying and planting my annuals.  I used to 'buy all of them' in one trip but found that overwhelming and I always made mistakes.  I would buy too many of one type and not enough of another.  That resulted in a trip back to buy more.  

So this year I tried the 'buy one type of flower at a time' and plant them before I bought the next type.  This didn't work either. I decided to buy the geraniums first.  I counted and recounted just to make sure.  I was short 4 small geraniums and 3 large geraniums.  

Next was the petunias.  Is it me or has the price of petunias gone up...a lot.  I bought petunias for my window boxes on the house and two square galvanized planters on my deck.  I still need to buy the petunias for the flower boxes on the deck which are six 36 inch boxes and two 72 inch boxes.
Today I also planted two hanging baskets and a galvanized tub. The tub I bought from a local lady who makes them into personalized planters.  I currently have it sitting on a small table in front of the settee on my deck, but I will move it to another table after I make a top for that table.
I planted two hanging baskets today, too.  One was my usual regular size basket that I hung on a shepherd's hook that was my mother's.  The other basket is a very large basket that R found curbside (he has the sharpest curbside picking eye).  I think that this is the first time that I have seen one this large.  I needed to spray paint it black (it was tan color) and buy a new coco liner for it before I could hang it.  The coco liner is from Home Depot.
This coco liner is great.  It has something in the very bottom that holds the water.  I find that the water just blows right thru the regular coco liners.
You can sort of see the water sitting in the bottom of the coco liner in the photo above.
 I also planted a moon flower plant in a faux concrete pot and it is sitting next to one of my favorite pots.  It is a Ty Pennington pot and it is the perfect shade of green.  But back to the moon flower.  I can't say that I know of anyone who has ever planted one so I don't know what to expect.  It's looking rather spindly right now. 
I also started to spray paint a wrought iron chair (I always start with the bottom first) that I bought for 10 bucks.  I went into the house to get a new can of paint and came back to this.....  
  R decided to blow leaves off the driveway so now I have a half painted chair with leaves stuck to it.  Thank heavens that it is the bottom of the chair.

I ran out of daylight so I'll take more photos tomorrow.

Reuse Repurpose Recycle

Don't forget to follow Gear Acres on

Pinterest

Wednesday, May 9, 2018

More Hostas and Plants that Smell.....

.....like cola or popcorn.  

This plant smells exactly like a glass of Coca Cola.  
 This plant smells just like popcorn.  
 I wonder how they make that happen.
 The popcorn plant has a very interesting flower with the bright yellow flower than starts out as a dark bud.  Kind of like how popcorn looks before it pops.
And of course I found 4 more hostas that I didn't have along with a hosta that I already have but needed another one.
Left to right is Ivory Queen, Fire Island which is a bright yellow hosta with red petioles (stalks), Remember Me, Shadowland Autumn Frost, and Moonstruck.  Just in case you think that I have tweaked with the color by using a Photoshop app.....nope the colors are that bright and I don't Photoshop any of my photos.  I know a lot of bloggers and Instagram users do that but I don't.

I bet you are wondering why these hostas have such vivid color.  It is because they grow in the shade or only sun in the morning.  I know that the tag says part sun and some people believe full sun.  Yes, they will grow in those conditions but you won't see vivid colors.  Instead you will have bleached out leaves that by August will also be brown on the edges.  

Today I planted the window boxes on the house.  I used bright red geraniums and red, white, and dark purple petunias.  I also planted the pots on my front porch using the same flowers plus white petunias.

I still need to plant the pots and flower boxes on my deck and three hanging baskets.  The boxes will have the same flowers as the window boxes on the house and the hanging baskets will have just petunias. 

Petunias need a couple of weeks to grow before they are photo ready. My mother was always diligent about pinching off dead flowers or long stems.  Because of this, her petunias were always very full and lush.  I am going to try and be more diligent about that and hopefully mine will still look good by August. 

We have had great weather the last couple of days but the forecast is for a couple of days of rain.  

Reuse Repurpose Recycle

Don't forget to follow Gear Acres on

Pinterest


Monday, May 7, 2018

Replacing a Broken Shovel Handle

We must have 5 shovels of various shapes and age so occasionally we have to replace a broken handle.  One of our oldest is a flat blade shovel that I use to edge my flower beds and edge along the concrete curb.  It is a great shovel because you can file a nice sharp edge on the blade so it can cut through the hardest soil. 

 But I broke the handle and rather than toss it I headed to Ace Hardware for a new handle.
Here is a diagram of the parts of a shovel to help you understand the directions for replacing a broken handle.


Before you back out of the driveway, you will need to remove the broken handle from the blade of the shovel.  I drilled out the pin/rivet but you could also use a grinder to grind off the head of the pin/rivet.
You are going to think that you can remember what the old handle looks like but when you find yourself standing in front of a display of all different shapes and sizes of handles, you will have wished that you brought the blade or the old handle with you.  So don't leave home without one or the other.  I took the blade with me to Ace Hardware.
 t
Here is the one that I needed.  So off to the cash register.

 But first.... I got out my Ace Rewards coupon for 15 bucks.

 But the handle was only $14.99 so I had to buy a 15 cent mini York candy to bring my purchase over $15.00.  In the end the shovel handle cost me 14 cents.  Gotta love a bargain. 
 Oh by the way, before you leave the store with your new handle, make sure it has the pin/rivet taped to the handle.  You will need this pin/rivet to secure the blade to the handle.  You can use a bolt and nut but using the pin is a more secure method. 
 Insert the handle until it is all the way into the socket.  Turn the shovel upside down and tap the end of the shovel handle against the driveway or any hard surface. It always surprises me that this method works. Once the handle is all the way into the shovel socket you will need to drill a hole through the handle using a drill bit that is the same diameter as the pin/rivet.
 Drive the pin/rivet all the way through the handle until the head of the pin/rivet is resting against the socket.
 Place something hard, like the head of a hammer, under the pin/rivet head so that when you start peening the pin/rivet, it will stay in place.
You can then either use a pin punch, nail set, or the rounded end of a ball peen hammer to peen the pin/rivet.  The pin/rivet will start to spread out and flatten. 
Keep hitting the head until it is completely flattened out and tight against the shovel socket.  Flip the shovel over and make sure the head of the pin/rivet is still tight against the shovel socket before you pat yourself on the back for a job well done.

Don't throw away your tools because they have a broken handle. It is a cheap and easy fix to replace the handle.

Easy Peasy.

Reuse Repurpose Recycle

Don't forget to follow Gear Acres on

Pinterest