Thursday, November 28, 2013

Happy Thanksgiving

Happy Thanksgiving.

May your turkey be tasty and your pumpkin pie yummy.

Wednesday, November 27, 2013

Scraping and mud room progress

Sometimes, I think small rooms take just as much time to trim as a large room.  We were also surprised to see how unsquare and unlevel the ceiling and walls were once we started installing the trim around the ceiling perimeter.

The trim accentuated the fact that the ceiling and door jambs were askew.  If we followed the ceiling, the door trim and window trim will look crooked.  Finally we found a happy medium by not using a level and just installing so that the trim and the doors and windows look level.

I once saw an episode of of This Old House where Tom Silva addressed this very matter.  His advise was to install the trim so that it looked good whether that was unlevel or level.  So we took Tom's advice and that is exactly how we installed the trim.
We installed the 11/16th X 11/16th square trim in the corners, followed by the cove molding between the square trim on the shelf portion.  I found a 5 foot section of the cove molding in our wood pile but we will need at least 10 ft more to finish the trimming the shelf and the seat.

The leg supports for the seat are next on the list.  This is more a design roadblock than anything else. I am trying to draw up a design that would have been original to the house or at least to that era. I have an idea and Friday we will try and implement that idea.

I worked on scraping in between helping R with the trim.  The scraping is going slow.  I'm finding areas where I can hardly remove the paint, while other areas peel easily.  The only remaining paint above the windows is the paint over the center window.  Unfortunately the center window is a wider window because it is an 8 over 8 rather than a 6 over 6 double hung window.  I am guessing that I have two more days of scraping.

It looks like it is time to buy another putty knife.  My current putty knife is fairly worn and I no longer have a nice corner edge on each side of the blade to help get into little divets and grooves.  This would be the third putty knife that I have worn out since starting this painting scraping escapade.

On a happy note.  I was able to purchase 4 vintage coat hooks from a seller on eBay.  I could have purchased new ones for less money but it's the little details that can make or break project.

Mud room update

We had errands to run today that took longer than we thought, so we didn't get as much accomplish as we had wanted.  But that is nothing new...right?

Our last stop on the list of errands was a trip to Home Depot.  We forgot to return one leaf guard when we returned the seven pieces the other day.  So first we needed to go through the return line.

After returning the leaf guard we wandered over to the lumber section to buy wood for the mud room. Unfortunately we did not have a board in our wood pile that would work for the front of the seat.  We needed a 1X4 in clear pine or nearly clear and all we had was very very knotted pine boards.

We looked at clear pine boards and compared the price to a common pine board.  It was a no brainer. The clear pine board was almost 7 bucks compared to $2.12 for the common pine board.  We found a common pine board that was fairly clear and added that to our cart.

I knew that we would remove that inappropriate trim at the ceiling but I was unsure of what I wanted.  I knew it had to be simple.  Simple and cheap would be great so when I ran across some 1X4's that had the same knotty pine finish as our tongue and groove paneling, I had to take a second look.  We decided to buy enough to run a 1X4 all the way around the perimeter of the ceiling.

We also purchased a couple of pieces of 11/16thX11/16th square pine to fill in the corners where there is a gap between the paneling.  Hard to explain but sometimes you see 1/4 round used but since it would butt up against the square edge of the 1X4 at the ceiling we felt that this would look better.

Once we were home, we installed the front board for the seat.  We still need to install some legs and cross supports before we can permanently attach the seat.

Next on the list was removing the current ceiling trim.
Ceiling trim before removal
Ceiling minus the trim

I scraped paint in the living room in between working on the mud room.  I hate to say this but...I doubt if I am going to meet my self imposed 3 day deadline.  Maybe I can make better progress tomorrow while R is installing the ceiling trim.

Today's cost

Return of the leaf guard +$8.10
Purchase of wood for the mud room -$29.88

Total after refund $21.78 paid with gift card from previous returns.


Monday, November 25, 2013

Mud Room Shelf

Saturday was a day of scraping.  I worked on the arch above one of the recessed areas in the living room.  My shoulder has been taking a beating and sometimes I think I spend as much time with my arm resting in a down position as I do with it above my head scraping.

I almost finished the area above the arch but my shoulder started screaming and rather than injuring it again...I just stopped.  But I did finish it on Sunday.

I wish I could find a before photo.  I know I must have one somewhere.  Before I started this project, the recessed area had wood shelves.  There is a pair of these recessed areas but the shelves were different in each one plus the shelves were not evenly spaced.  It looked bad and was not in keeping with a formal living room.

The shelves were removed and I made new shelf supports out of brick molding that I cut a return cut on each end to continue the profile to the front.  The cabinets will be painted white to match the trim. I will order glass shelves once the painting is complete because storing the glass is just asking for heartbreak. Eventually, this will display my vintage ceramic pottery collection.

At one time the back wall of the shelf area was painted a different color than the wall paint.  I'm leaning towards just having it the same color as the rest of the walls because the pottery is colorful and I don't want it to look too busy.  But who knows....the only detail that I am sure of is that the trim will be white with the doors stained dark like the floors.  Other than that, my color choices change monthly. I'm leaning towards a light sage green for the entire lower level except for the kitchen and mud room which will be white.  The green is a color that is original to the house and era but I have to find the right shade.  Not too dark, not too light, not blue, and not too muted and greyish.  I'll change my accent color in each room, so it has to be a shade that will work with those colors.

I'll move my ladder over to the area above the front living room window.  My goal is three days to finish the area above the window.  Then I will be back to the corner next to the fireplace where the paint is difficult to remove.

On Saturday we were able to cut the shelf supports in the mud room. We used wood we already had in our wood pile.  On Sunday we installed the shelf which was originally the top of the cabinet that we removed.  Before we installed it, R sanded it to remove the grime and even out the surface.
That window is all wrong and not original.  It will be replaced with a 6 over 6 double hung.  This is another of those Andersen windows that are falling apart.  I mean literally falling apart at every seam.


R was having a difficult time visualizing my plan.  This happens.....A LOT!  But after we installed the shelf, he understands what I have in mind.

***This area is very difficult to photograph.

Saturday, November 23, 2013

There's a new project starting...

......and it's exciting.

Our exterior kitchen door enters into a small room.  To actually enter into the interior of the house you need to walk through another door.  I guess you could call this a mudroom or a side entry but to keep things simple, I decree that from this day forth, this room will be called a mud room unless we come up with a snazzier name.

Several weeks ago during a rain delay, we removed the cabinets that lined the west wall.  Since that time, we have been busy trying to wrap up the shed project.  But since snow is forecasted for the weekend, it's time to break up with the shed and move on.

The floor in the mud room is made of 4 inch wide pine planks and covered in many many layers of battleship grey enamel.  Now is the time to remove that paint so we can, in the future, stain the floor to match the rest of the house.

R hauled out his belt sander and started sanding.  This isn't the final sanding but just enough to get through the paint.  The sanding took 4 hours.  He still needs to use a little sander to get close to the baseboard to remove that final little strip of paint around the perimeter of the room.  But after that we will move on to the fun stuff.

Oh my goodness...look at all that dust!

Our goal is to again, use as much of the previously used wood as possible.  The walls are covered in wide tongue and groove paneling just like the kitchen.  We will leave the paneling and eventually paint it bright white.

We need to make some adjustments to the paneling and trim.  Several knots have fallen out and left holes in it's place.  These will need to be filled with filler.  The trim around the ceiling is wrong wrong wrong.  It looks like the same picture molding that we found under the crown molding in the entry.  We have a couple of ideas up our sleeve but haven't set anything in stone.

The corners of the room have gaps between the panels.  This was probably caused by shrinkage or settling or both.  We will probably use some sort of cove molding to bridge those gaps.

I've been eyeing a really cool ceiling light online for the mud room.  But I haven't pulled the trigger just yet.

Today I was busy with more paint removal in the living room.  I'm working that last two feet up by the ceiling.  It's rough on the shoulders and is slow going due to frequent breaks to rest the old shoulders. I also think my heat gun is just about ready to give up.  I use the cheap $9.99 with coupon heat guns from Harbor Freight.  I do this for several reasons.  I also own two expensive heat paint removers and they are just too heavy.  The Milwaukee is a powerful heat gun but must weigh almost 5 pounds and it's huge.  The other is the Silent Paint Remover.  Let's talk......I really don't see the big deal with this gadget.  I really should just sell it.  I barely used it because I found that I can move faster with a lightweight heat gun and a putty knife.

To make my paint removal more bearable, I have been breaking up the wall into sections and only removing the paint from that area.  Kind of like the saying....how do you eat an elephant?  One bite at a time.  That's my philosophy when it comes to removing all the wall paint.

Tomorrow (Saturday) R is helping someone install an air handler in the morning so I do not know if we will work on the mud room but I know what I will be doing......putty knife in hand and removing paint.

Friday, November 22, 2013

Put a fork in it?

ahhhhhh....don't pick that fork up just yet.

We are just about ready to call it quits on the shed until spring.  We came close today but ran out of daylight due to a late start.  Let me explain.

The other day we purchased a new washer and dryer for the Torrey Rd house.  Our house has Bosch front loaders but we needed to replace the washer and dryer set before selling Torrey Rd.  I noticed a sale price in the newspaper and we scored a set of Amana brand for slightly more than $500.00.

That left us with needing to make a scrap run to dispose of the old set.  R got up early and headed off to the scrap yard.  He added a small dorm size fridge to his haul that he found out to the curb on his way out of town. The night before he also added several small pieces that he's been waiting to scrap.

He arrived at the scrap yard and as he was unloading the washer and dryer he mentioned to the yard guy that they still worked.  There was someone who was already unloading who heard him tell the yard guy that they worked.  He came over and gave R the phone number of someone who buys old appliances that still work for 20 bucks each.  R called the person right then and there.  10 minutes later he met the guy in the parking lot.  Bing bang boom....$40 richer plus the scrap money of $26=$66.00

In the meantime, I am home getting ready to drop some stuff off at Goodwill when the doorbell rings. It's a man asking about the old elementary school desk that was sitting next to my SUV.  He wanted to know if it was for sale.  I said 'sure'.  He asked if '10 will do it' and I say 'sure'.  I then asked him what he was going to do with it.  He said his grandson had just started preschool and he was helping him with his homework. HOMEWORK!!!!  in preschool?  Sheesh

Well anyways....not too shabby of a day.  10 bucks for a school desk that was found in the trash and 66 bucks for scrap.  Annette once said that it was great to have fiscal neutral projects BUT I have to say I love these money makers too.

So by the time R returned home and we stopped off at Home Depot to return 56 bucks worth of leaf guards, it was mid afternoon and already starting to get dark.

The first thing we did when we got home was to rip some door stop off of an old fir 2X4 from our stash. Halfway  through ripping I notice that the plug on the heavy duty extension cord is starting to smoke.  I begin to yell at R, but he is hard of hearing from his racing days and instead of stopping he continues and just gives me the evil eye for interrupting him.  It then bursts into flames about 3 inches high.  I can't get to it because I am blocked in behind the saw because I was guiding the long pieces as they came off the table saw.  Once I saw the flames I had to get him to stop before the saw dust caught on fire.  Basically, I had to go ape @#$% to get him to look up.  I then made the universal symbol for stop or shut off by waving my hand back and forth in front of my neck.  He then shuts off the saw and said "what is your problem?"  I was freaking out.  I said "fire...fire...the extension cord!!!"  Again, remember he is hard of hearing so he says "what?"  I'm losing it by this time, so I just start knocking stuff over so I can get to it.

The flames have finally stopped but there is enough smoke to catch his attention.  We have no idea why it caught on fire but it was our newest extension cord.   Sheesh.  No pun intended but once the smoke cleared we finished ripping and then proceeded outside to the shed.

We installed the sliding bolt at the top and bottom of the stationary door.  That went off without a hitch. 

Then we measured for the door stops and installed those pieces. 

We finished up the day by installing the astragal, which we ripped off when we ripped the door stop pieces.

By this time....it's starting to get dark so we were unable to finish the door locking mechanism install.

Run down on yesterday and today's costs.

Door handle (reused from a removed door in the house)  $0.00
Door stops and astragal  $0.00
Sliding bolts (2 types) -$9.57
Sale of desk +$10.00
Scrap yard money +$26.00
Sale of appliances +$40.00
Return of leaf guards to HD +$56.00

Total for the two days +$122.43

Oh wait, I forgot that yesterday I made a hardware run for 6 screws @.06 for a total of 38 cents including tax.

Revised total for the two days +$122.05

Not too shabby.

Monday, November 18, 2013

Storms, Scraping, & Sanding

Seriously, all we needed was one whole day of good weather.  But all we got were a few hours here and there.  We crossed off some small items off the list but we have yet to get to the sanding of the doors on the shed.

What did we do?

1. We cut and installed a board under the threshold to support the edge that overhangs and to hide the nail heads on the shingles under the threshold.  We reused a trim board from the shed door demo.  R took one of the 1X4's, that I stripped and he sanded, and ripped it to a 1X2.  COST $0.00

2.  We were able to buy a small box of rivets to finish the downspout install.  COST $4.69

3.  We installed the pop rivets and added a short extension onto the elbow to direct rainwater away from the shed.  The extension was a short piece of left over downspout.  COST $0.00

4.  Placed a concrete splash guard under the newly installed extension.  The vintage concrete splash guard was given to us by someone who wanted a PLASTIC one.  Yes, you read that correctly.  I love this one because it has an aged patina that vintage concrete gets after years and years of weathering. The splash guard is in perfect condition and looks like it has always been there.  COST $0.00

5.  I was able to get all the walls in the little vestibule scraped and they are now paint free. Unfortunately, I have to scrape the ceiling in this small space.  The ceiling is peeling and looks like it had water damage at one time.  Probably before they installed the new roof and when they still had the cedar shake roof.  COST $0.00


6.  R took the kitchen door jamb apart and reinforced it so that it could support the heavy oak door we installed.  He also fixed the flooring in the corner by the door.  All this work just took time and all materials were reused materials.  COST $0.00

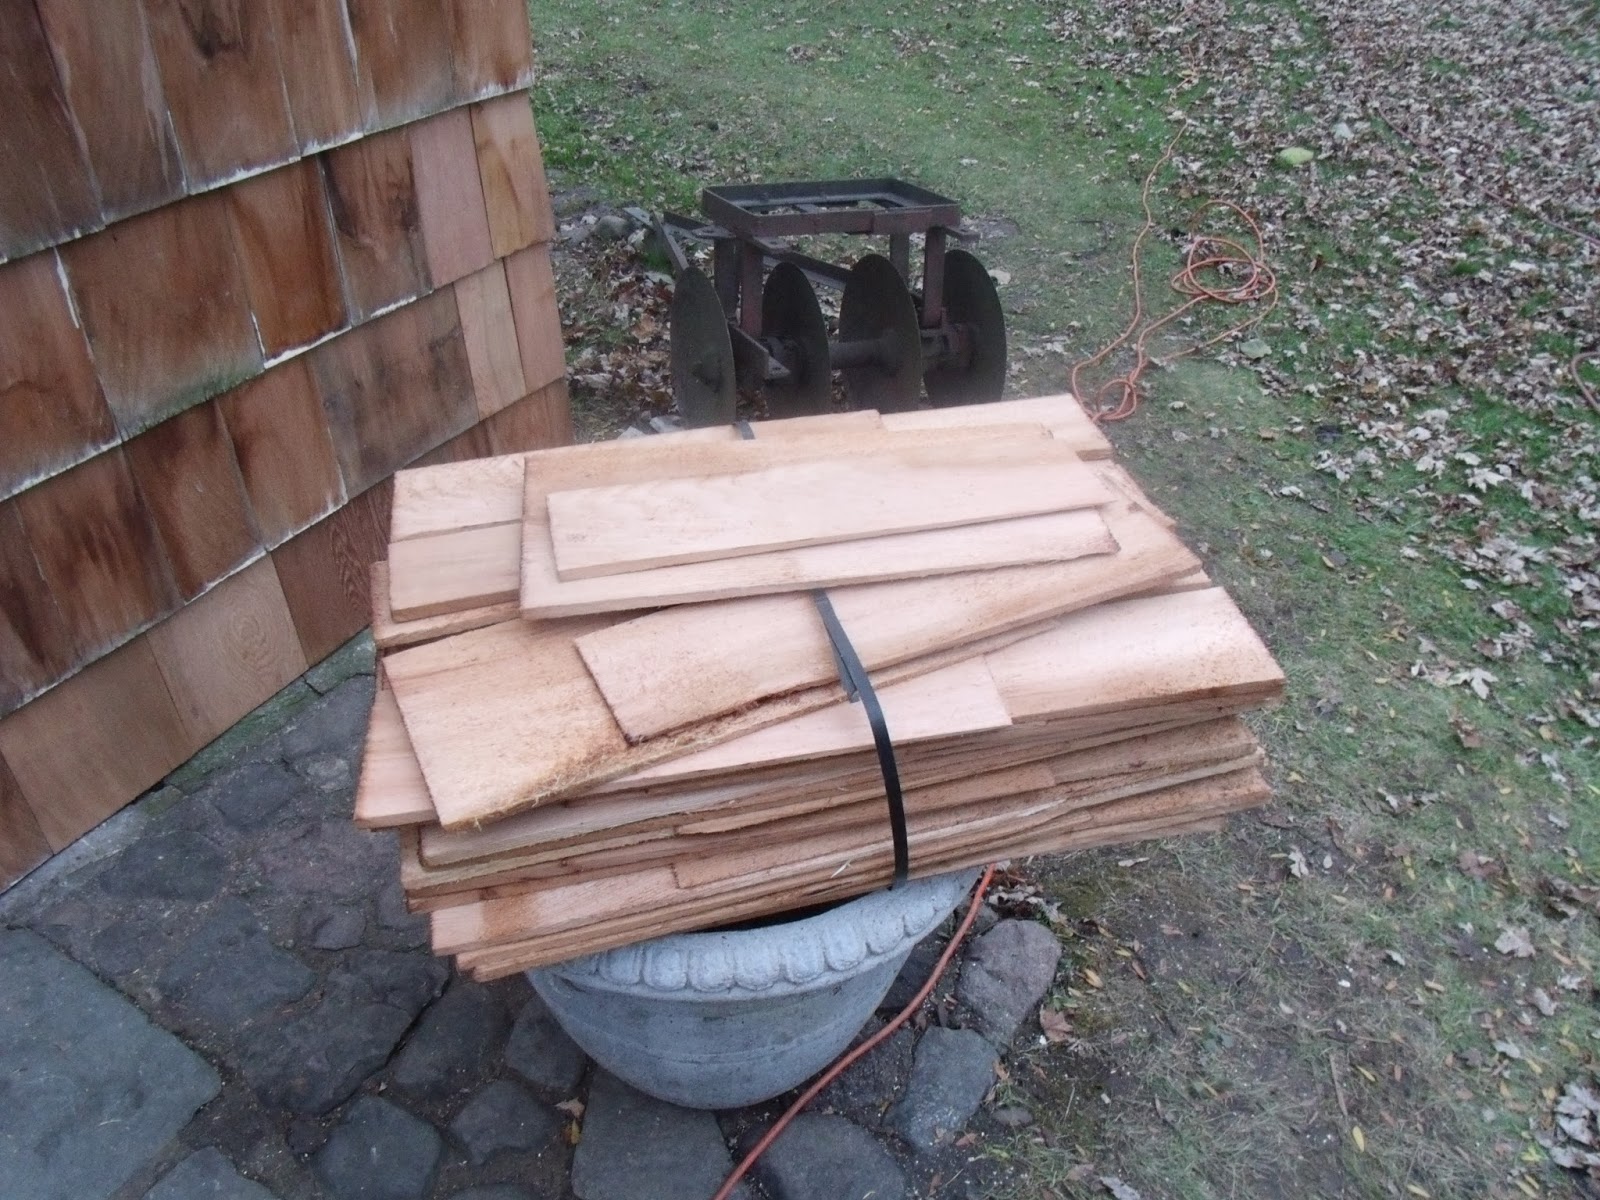
7.  Finally got rid of the last piles of cut wood.  COST $0.00

8.  We did not install the gutter guards that we purchased and removed the three that we had already installed.  We do not like how they lay and you can see them, which we do not like.  They are going back to Home Depot and we will try another style.  We have so many trees that we need to have something to keep the eave troughs from filling up with seeds, nuts, and leaves.

So what's up next.

R needs to sand the floor in the back entry where the kitchen door is located.  I guess you could call it a mud room.  He's not going to sand the entire floor just the area where we are going to build the bench and shelf area.  The floor is currently grey enamel and there are 4 inch wide pine planks under the ugly grey paint.  R will end up with bloody knuckles if he waits to sand after we build the bench.

Once the floor is sanded, we will first install the shelf and then build the bench.  I did some quick figuring and planning and I think we can reuse boards from the cabinet demo.  We are really looking forward to this project because it is a creative project instead of fixing a problem project.

If it ever quits raining and dries out, we will try and sand the shed doors and install the door handle, door stops, and astral.  But we need dry weather because the belt sander is electric and we need to run an extension cord.  The doors are just too heavy to bring inside to sand.

We still need to turnover the bird bath tops and maybe do some raking but the raking isn't a must do. While R sands, I will scrap the ceiling so I can check off the vestibule from my list.

The storms that hit the Midwest today missed us for the most part.  We got some rain but mostly high winds.  It did get to 61 degrees which was great but it was a damp 61 degrees.  Tomorrow we will be back to the 40's.
Site Supervisor
"Patches"
Patches and her sister, Sasha, and two brothers, Morrie and Elvis are looking for humans to love them. These are the kittens that were born in our barn to a feral cat.  These kittens are very social.  We've handled them a lot and they have been around a lot of construction so they are used to noise.  Elvis will sit and watch you work until he feels the need to nap.  Morrie is more of a paws on kitty and like to stand on your tools so you can't see them.  Morrie and Elvis are always looking for a belly rub and a good time.  The girls, Sasha and Patches are girly girls, quiet, but can smell a chicken nugget from 20 paces away so you better get a 20 pack if you want some for yourself.

All four kitties have never ever scratched us, they all play very gently.  The boys love to be held and both are big time talkers.  All are litter trained and know their names and what 'time to eat' means.

We would really like to find homes for the two boys together because they are very attached to each other the same for the girls.  We would keep them all but we already have two kitties and it just wouldn't be fair to them.  I know a lot of people like the very young kitties but when you get a kitty that little you have no idea what their personalities will be like.  These kitties all have a gentle demeanor and are fun loving playful cats.

Contact me here at the blog if you can give them a loving home.

Sunday, November 10, 2013

Will this project EVER end?

Oh was it cold outside.  The wind was brutal.  We made a quick trip to Home Depot to purchase another piece of eave trough and I also picked up a couple of extra hangers in a moment of doubt.

The eave trough went up fairly quickly despite the cold.  We use pop rivets to attach the downspout. Screws have a pointy end that protrudes into the downspout and it can catch small pieces of debris and the end result is a clog.  The pop rivet on the other hand isn't any more than a small bump when it is installed.  I also like the look of a pop rivet compared to a screw.

We ran out of small, white rivets before we could attach the short piece of downspout to the elbow.  So basically on the short list of things to do to wrap up the shed project for the winter is.....
1. Attach a short piece of downspout to the elbow.
2. Install the leaf guards on the gutter.
3. Sand the doors so that they operate smoothly.
4. Install the astragal.
5. Install the door handle and other door hardware.
6. Cut a piece of trim to go under the threshold.
7. Install door stop trim pieces.

The majority of that work can be done inside the shed out of the elements.  Since most of this work is a one person job, I'll be back to more paint scraping.  But first I need to pick up some more leaves before the trash guys come on Tuesday.

Money spent today

Eave trough and 3 hangers  $16.40

Close but no cigar

We made a quick trip to Home Depot to pick up the eave trough and downspout for the front of the shed.  I really doubted that we would even get that far today but we thought it was better to have it ready than to have to wait on it.

The temperature today was 52 degrees but felt like 30 degrees because of the wind.  I was bundled up with two sweatshirts (one a hoodie) and a coat.  I was either too hot or I was cold.  The minute I stopped moving, I would get cold.

The last couple of rows went fairly fast.  We were shocked.  Before we knew it, it was time to hang the eave trough.  Of course, I needed to make a quick trip to our local Ace Hardware to pick up a dozen screws for the hangers.

We only purchased 1 trough because we had a section left over from earlier projects.  I failed to measure and just eyeballed it.  Well, my eyeball was about 4 inches off.  So we were not able to finish today.  Tomorrow should go fairly fast once we buy another trough.
Next spring we will fix the shingles on the bottom row on both sides of the shed.  See the shingles on the bottom left side of the photo below and on the bottom row of the next photo.  Shingles are broke, missing, and the bottom row has an uneven edge.

It's one of the little projects that make the difference between a good job and a great job.  It's also one of those time consuming projects and unlike the Rolling Stones...Time is on my side, yes it is. Time is on my side, yes it is.  Time isn't on our side.

Money spent today

Misc. eave trough parts Home Depot  $56.90
Ace Hardware 10 screws @.14             $1.49
Total for the day                                  $58.39


Friday, November 8, 2013

Shed Update

This project is getting long in the tooth.  I have project ADD.  If I spend too much time on any one project I start to get bored with it and want to move on to something else.  I want to move on....soon.

We are down to the last three rows of shingles and the installation of the eavetrough and downspout. Oh so close.  Rain is again in the forecast but just in the morning and we know they are never wrong when it comes to the weather........rolling my eyes.

Total cost of today's project.
$0.00

Thursday, November 7, 2013

Quality control?

Tuesday morning I drove to the Home Depot in my county that carries bundles of cedar shingles.  I was halfway there when I remembered that there was major road construction going on in that area.  I have a real aversion to road construction.  I think it comes from my days of commuting an hour to and from work.  The sight of a orange barrel was heartbreaking because it meant that my hour long drive had just turned into an hour plus.  I can't tell you how many times it took me over 3 hours to get home after working 10 hours.  I do not miss that in the least.

I decided that I could cut through the parking lot of the mall and then drive cross the street to Home Depot. That worked like a charm......actually too good.  That's usually a bad omen.  I walked into Home Depot and lo and behold there was a flat bed cart right there.  I usually have to look around for one of those. Oh oh....another bad omen.  I started wondering if maybe they were going to be out of stock on the shingles.  Nope, plenty of shingles.   But since the shingles are located on a high shelf and being 5'2" it was out of my reach and I would need help.

OK, where are all the sales associates that bug you every 30 seconds?  I couldn't find anyone.  Finally, after 20 minutes I flagged down a guy with a clipboard.  He hesitated for a moment and I thought for sure that he was going to call someone else when I gave him my best exasperated sigh.  He finally said "show me what you want."  We walked over to the shingles and he promptly tried to pick up a broken bundle.  I then pointed to another bundle and gave him a couple of pointers on picking them up.  After he laid the bundle on the cart he says...."ouch ouch ouch."  What a sissy.

Since I was pressed for time, I made a beeline to the cashier.  The only lines open were the self serve and there was a line waiting to use the scanners.  Everyone needed help scanning and there was only one lady to help everyone.  Finally a spot opened up and I called the lady over.  We looked the bundle over and could not find a bar code.  Now I needed to wait for someone to give her the price.  We waited and we waited and we waited.  Finally, she was given the price and I proceeded with checking out.
By the time I arrived home it was mid afternoon and most of the daylight had been burned away.  We only finished the under the threshold part and several rows.  Progress was slow because the new shingles have such poor quality control, that each shingle needed to have the edges cut straight before installation.  In addition to all the trimming, the shingles were furry and covered with splinters.  These new shingles will need to be sanded before I can paint.

Wednesday was another rain day.  I scraped paint for about 2 hours but just couldn't get into it.  So R and I did a little demo work in the entry area of the kitchen.  When you come into the house through the kitchen door you enter a little entry area.  The room itself is very small but there were cabinets built along the wall which made the area even narrower.  The cabinets were shallow and appear to have been used for canning jars.

My plan is to remove the cabinets and in their place build a shelf and a seat along the wall.  This will give us a place to hang a jacket and sit down and remove our shoes.  Demo went along without too much trouble.  We pulled out a bazillion nails but no surprises.   We can even reuse some of the wood to build our shelf and seat.

Tuesday Cost

1 bundle of cedar shingles  $59.84

Wednesday Cost

Nuttin, zip, zero  $0.00


Tuesday, November 5, 2013

Cedar shingles=slivers in your fingers

The last two days have been spent hanging cedar shingles on the shed.  It's a slow process made even slower by the fact that we are using a mixture of left over and used shingles.  So to cover as much area as possible, I need to make sure I do not waste any to the cutting room floor.

But I knew the day would come when I would need to buy another bundle of shingles and that day is tomorrow.  They won't go to waste but I just am not in the mood to drive to the other side of the county to buy a bundle.

We still need to put a second layer of shingles under the threshold and then shingle the area to the left of the doors.  It took us two days to shingle the right side of the doors so I can assume it will take us more than a day to complete the left side.

I have several fingers that have slivers in them and it is driving me crazy.  The slivers are real tiny and I'm having a difficult time removing them.  I also broke two fingernails today......moment of silence, please.  R says I should wear gloves but I find them cumbersome and they just get in the way.

Money spent today.

Shingles (used and left over shingles) $0.00

Sunday, November 3, 2013

Floor repair finished

R was able to finish his floor repair project today and I continued to scrap paint.  This paint scraping is starting to get monotonous.  This is why I really like to have several projects going at one time.

The plaster needs to be repaired and will be added to the list of repairs for the plaster guy to fix.  We will use some of the baseboard that we are replacing in the living room to repair the missing baseboard.
R says his knees are very very sore and my wrist hurts so bad that I can barely use my laptop.  Sunday is suppose to be sunny but cold so I hope our aches and pains are diminished by then because we have to button up this shed project for the winter.  We are running out of daylight hours for outdoor projects.

Cost for today's repairs.

Wood for floor  $0.00


Saturday, November 2, 2013

Floor repair and more paint scraping

Due to  rain, we were indoors yesterday.
R continued with his floor repair.  He started by cutting a piece of plywood that was the same thickness as the sub floor.  There just happened to be a piece of plywood in the scrap pile that worked perfectly. He laid a piece of rosin paper on top of the plywood after he screwed it in place.  We had a roll of rosin paper left over from another project.

R was able to get 3 of the 5 pieces of flooring installed today.  Actually, it was the 3 hardest pieces so tomorrow's 2 pieces should go fairly quickly.

I continued with paint scraping.  The paint was very hard to remove in the center of the wall.  There were fewer paint layers, which was odd......until I stepped back and saw the big picture.  I was too close to the wall to really understand what was going on with the crack etc.  R called me over to ask me a question and as I walked back to the area where I was scraping, I had a chance to get a real good look at the wall.  You could have knocked me over with a feather.  There is was as clear as day.  There used to be a door there. You can see where the trim was and then you can see where the patched area starts.  This area was never painted the golden tan color or the medium mocha color.  The first color layer is the dark green.

The door was removed and the opening was patched with the same material as the rest of the wall.  The newer patches used drywall compound to patch with and it is too soft.

They probably had a door on each side of the fireplace that went to the sun room.  I bet they realized that there was a shortage of wall space in addition to it being a north wall.  Here in the north we like to keep windows and doors to a minimum on the north or northwest side.
The area that is scraped in the photo above took me 5 hours.  That is more than twice the time it should have taken me to scrap that amount of wall surface.

Total project costs for today.

Sub floor/plywood  $0.00
Rosin paper             $0.00
Wood flooring         $0.00
Total cost               ZERO