During the month of August we poured a new back step and a new larger stoop for the french door leading into the sun room on the north side of the house.
The original small back door step was cracked and sloped towards the house which is never a good thing. The slate that was pressed into it was loose and moved when you stepped on it.
We jack hammered the step to little pieces several years ago and just now felt the urgent need to repour a new one. Go figure.
Basically we made the step just like it was originally except without the slope towards the house and the loose slate. The previous step had bricks standing vertically in a row along the front edge. We use brick pavers because that is what we had on hand. We also found a large piece of red slate in our slate pile.
Day one consisted of placing the pavers on their end in a bed of mortar. We let them sit over night to firm up so that when we poured the concrete mixture they would stay in place. We also filled a plastic tub with water and placed the slate piece in the water so it could absorb some of the moisture overnight. This helps the slate to bond with the concrete mixture and not come loose once the concrete hardens.


The next day we mixed our Quikcrete by the large bucket fulls. We used approximately 3 bags of Quikcrete. I made sure that there was a slight slope to the front for drainage and used a little masonry tool to edge the concrete. We let it set up for about an hour before we placed the slate into the center of the concrete. I used a rubber mallet to make sure the slate was seated into the concrete.


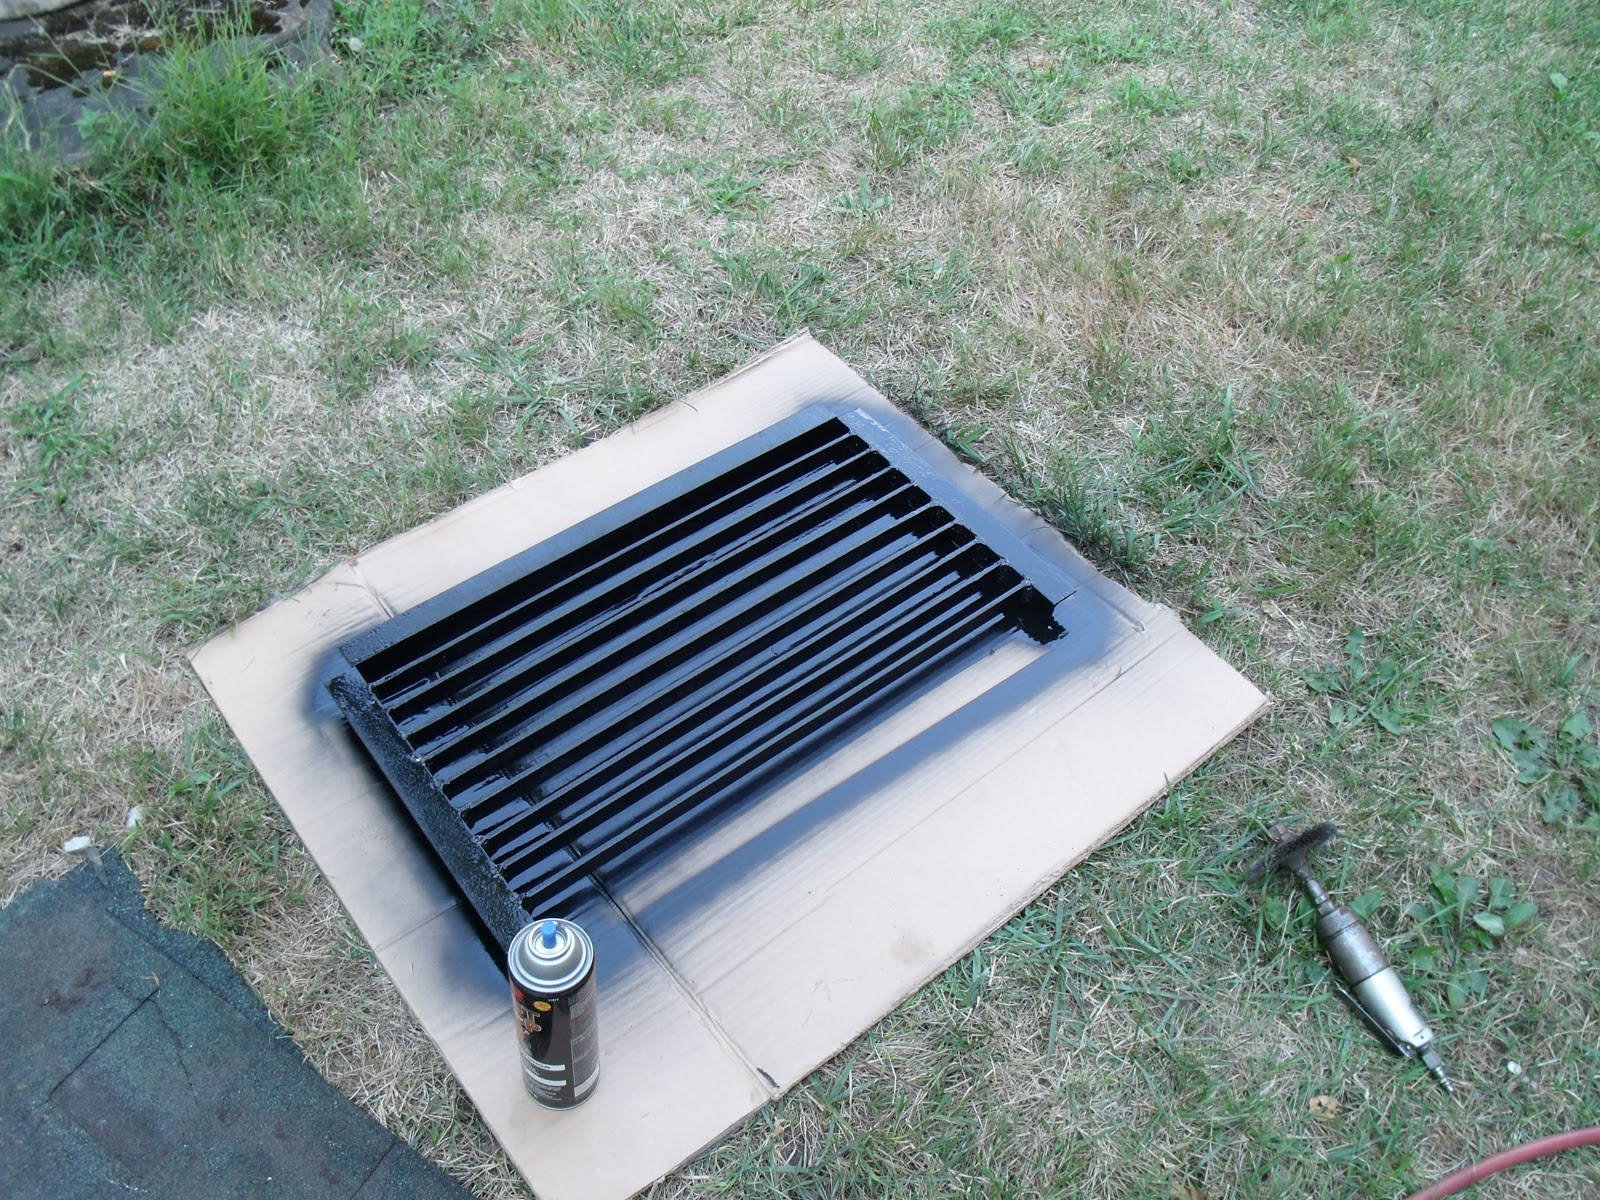
Step and grate look great!!!! We still need to hit the step with a little muriatic acid to clean off the white film but other than that we are please with how it drains and how it looks.


This step was in horrible condition. It was cracked and sloped like the other step but it was also too small and a little off center to the door.. We felt this was the perfect time to make it bigger and better.
Building the form was confusing because we wanted the step to have a overhang. Once the form was built, I used caulk to seal any seams and placed cement blocks all around the step to make sure it did not move.


We left the original step in place because it was too low and too small so we poured over and around it. This step took 8 bags of Quikcrete and two days to pour. Just like the other step we added slate.
We slowly removed the form the next day. Basically we held our breath because we had no idea what we were doing and we were pretty sure we just lucked out on the first step and this one was going to have voids and probably just fall apart.

But....it looked great! What in the world. OK I'll let you in on a little secret. R read an old book on masonry that I bought on eBay. I think it was published in 1950. Of course the book said to make your own mixture of concrete using sand, cement, and water but we chose the Quikcrete route.

The larger step/porch/stoop looks sooooo much better. Especially now that it is centered. There is also room for a vintage wrought iron chair. This is the chair that R found in the trash. Looks great doesn't it? It will look even better once it is repainted.
This step will need a little muriatic acid love just like the back step but for now we are in a mad dash to finish installing some cedar shingles before the snow falls. Yup...it's that time of year.
Both stoops look awesome!!
ReplyDelete