Board and Batten Shutter Tutorial Part 5
Shutter dogs are the apparatus that hold an operating shutter in the open position. My shutters do not move but if they did open and close, I would need something to hold them open. Without anything to hold the shutter open, it would bang and slam the window casing whenever the wind blew.
Our intent is to make the shutters, that we built, look as close as possible to operating shutters. You are probably wondering why we just didn't make them operational. We have storm windows and the area where the storm window sits is the exact location where the shutter would be if the shutter was in the closed position.
I purchased vintage wrought iron shutter dogs but you can buy new wrought iron shutter dogs and even plastic shutter dogs and pull rings for vinyl shutters. So if you like the look but have vinyl shutters and thought you couldn't get the look of operational shutters then you are in for a surprise. Search for vinyl or plastic shutter dogs and ring pull on the Internet.
The shutter dogs that we used have 4 parts. The S shaped scroll, the long lag screw, cotter key, and a washer. You will need to decide before you assemble them whether you want the bottom scroll to point away from the shutter or towards the shutter. I chose the option of the scroll to face away from the shutter and assembled the shutter dogs so the large scroll when on the bottom scrolled away from the shutter.
The larger scroll is on the bottom. This is because the larger scroll would weight more than the small scroll and stays put on the bottom due to gravity. If you put the small scroll on the bottom, your shutter dog over time could flip or at the very least move.
I will hand paint the screw head and washer after they are installed. If I painted them before installation the paint would get chipped off during installation.
The lag screw has a square 4 point head. Your first inclination might be to screw the lag screw in using a crescent wrench or open end or box end wrench but the easiest and fastest method is to use a 12 point socket and a ratchet. I used a 15mm 12 point socket.

The location of the shutter dog is where ever you want to put it. But generally speaking it is usually found on the bottom corner or mid way on the outside length of the shutter. We chose 4 inches in from the bottom outside corner and 1/2 inch below the shutter. We drilled a pilot hole slightly smaller than the diameter of the lag screw.
Screw the lag screw in and stop when the scroll is resting against the shutter. To keep your paint job from being scuffed just hold the scroll in the desired position as you screw it in.
Lag screw not fully screwed in.
Window 'before' board and batten shutters and shutter hardware.
Windows 'after' board and batten shutters and shutter hardware installed.
South windows 'after' board and batten shutters and shutter hardware installed.
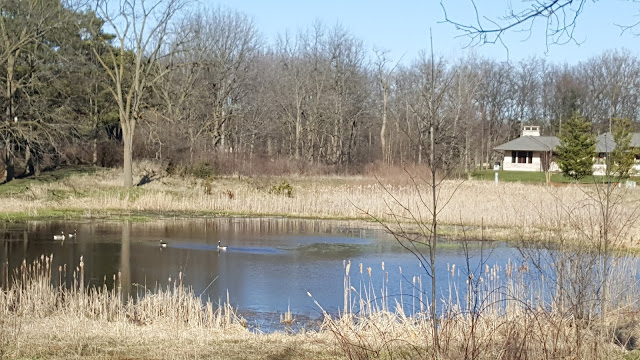
Brisk spring afternoon on the pond.
Today, I also painted all the small shutters for the garden shed. We will install those shutters tomorrow.
Reuse Repurpose Recycle
Don't forget to follow Gear Acres on
Pinterest


No comments:
Post a Comment
Leave a comment here.....